
Livraison le jour même ou le lendemain

Qualité garantie

Débloquez vos offres de bienvenue: Livraison GRATUITE | Jusqu'à -80 % | 30 jours d'essai gratuits à JoyPlus
Téléchargez l'application
Wall stickers are the ultimate decorating hack for transforming a room without committing to major painting or wallpapering projects. Quick to apply, cost-effective, and often reversible, they allow you to personalize a living room, brighten up a child's bedroom, or add a touch of originality to an office. But be warned: the market is flooded with products of widely varying quality. A poor choice can quickly turn into a nightmare, with adhesive that rips off paint, colors that fade, or a disappointing design…
As a product expert at Joybuy, I'm here to help you navigate your options. Follow my advice to find the perfect wall sticker that will elevate your interior—with no unpleasant surprises.
Before you fall for a design, keep an eye out for the most common flaws that can ruin the experience.
To avoid these disappointments, focus on a few simple but decisive technical features.
The vast majority of quality wall stickers are made of vinyl or PVC. These materials offer a good balance of flexibility, durability, and color rendering. Vinyl is particularly valued for its ability to conform slightly to wall textures and for its ease of cutting, which allows for complex and detailed designs. A sufficiently thick material also ensures good opacity, so your wall color won't show through the design.
The crucial point to check is the nature of the adhesive. Look for terms like "removable," "repositionable," or "peel and stick."
Not all stickers adhere to all surfaces. Highly textured, grainy, or walls painted with a silicone-based washable paint can prevent proper adhesion. Most manufacturers specify compatible surfaces (smooth walls, plasterboard, glass, tile, etc.). When in doubt, the best course of action is to order a sample or test a small piece of the sticker on an inconspicuous area of your wall before proceeding with the full installation.
To illustrate this advice, here are a few of our finds, tailored to different needs and tastes.
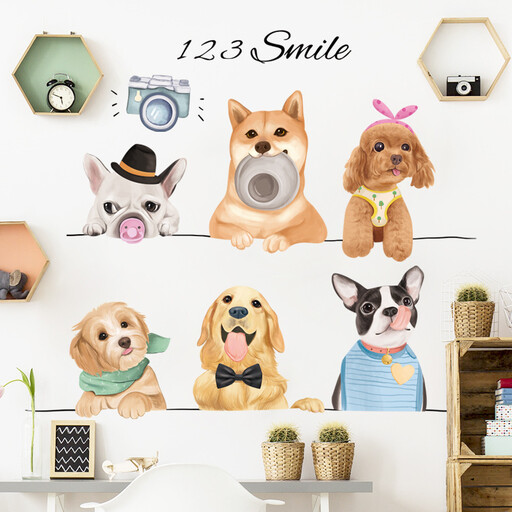
Why we chose it: Perfect for creating a playful and cheerful atmosphere in a baby's nursery or child's room. The DIY format, with several animal stickers to arrange freely, even lets older kids get involved in the decorating.
Made of removable vinyl, it comes off without leaving a trace on smooth walls. This is essential for a child's room that will evolve as they grow.
The individual stickers are easier to apply without bubbles than large murals, making the application process accessible to everyone.
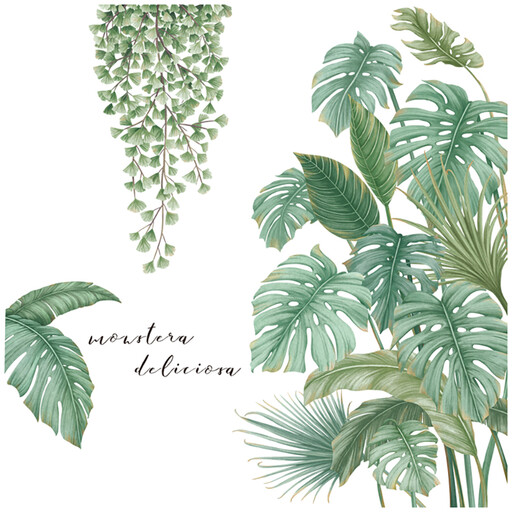
Why we chose it: The botanical motif is a timeless foundational trend. Ideal for a living room, this type of floral sticker brings a touch of nature and serenity, without the maintenance of real plants.
Its quality PVC offers good opacity and faithful color rendering, helping it avoid the "cheap" look of some poorly printed stickers.
The separate leaf design allows for great creative freedom to adapt to the available space, whether around a piece of furniture or across an entire wall.
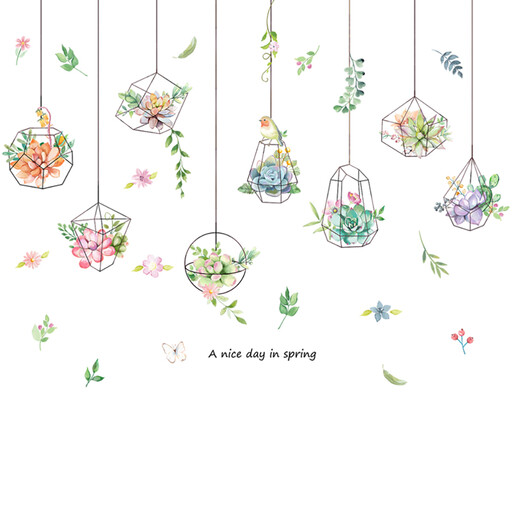
Why we chose it: A charming and budget-friendly solution for personalizing a space without commitment. Its format, reminiscent of a partial adhesive wallpaper, is easy to integrate into a reading nook or entryway.
Its main asset? It's removable. Designed for a clean removal, it's the ultimate risk-free choice for renters who dread the move-out inspection.
The complete design (plant, pot, cage) creates a cohesive decorative scene with a single product, offering maximum visual impact for minimal effort and cost.
We've curated a complete collection of products that meet our quality criteria and user reviews.
It's all in the preparation. Make sure the wall is clean, dry, and smooth. For large stickers, peel back only a small portion of the backing paper, apply the top of the sticker to the wall, and then gradually smooth it downwards with a squeegee (or a credit card) while removing the rest of the backing. Work from the center outwards to push out any air.
It all depends on the product. A repositionable sticker is specifically designed to be moved. However, most standard vinyl stickers are simply "removable." Once peeled off, their adhesive loses effectiveness and they are likely to stretch or tear. It's best to choose their location carefully the first time.
Patience is your best friend. Gently heat the sticker's surface with a hairdryer on a low setting. The heat will soften the adhesive. Then, carefully lift a corner with your fingernail or a plastic spatula and pull very slowly, keeping the sticker as parallel to the wall as possible (not perpendicular to it). If any glue residue remains, a soft cloth dampened with warm, soapy water is usually enough to remove it.