
Livraison le jour même ou le lendemain

Qualité garantie

Débloquez vos offres de bienvenue: Livraison GRATUITE | Jusqu'à -80 % | 30 jours d'essai gratuits à JoyPlus
Téléchargez l'application
By the Joybuy Team, Our Product ExpertsPublished July 17, 2026
Bringing your memories to life and personalizing your world has never been easier. Whether you're a scrapbooking enthusiast, a budding decorator looking to create a unique photo wall, or simply want to customize your notebooks and everyday items, sticker photo paper is the ideal tool.
But with a wide array of sizes, finishes, and adhesive types available, it can be tough to know where to start. This guide is here to break down the key criteria and present our top picks, helping you find the perfect sticker photo paper for your projects and your printer.
Before you dive in, there are a few points to consider. The final choice will primarily depend on your project and the equipment you already own.
The choice of size is your starting point.
The finish determines the aesthetic of your creations, while the adhesive dictates their use.
A crucial factor?: most sticker photo papers are designed for inkjet printers. Verifying this compatibility is essential to ensure fast ink drying and accurate color reproduction. Using an incompatible paper (like one for a laser printer) can not only produce disappointing results but may also damage your equipment.
To help you bring your ideas to life, we've selected three products that cover a range of uses, from the on-the-go creative to the interior decorator.
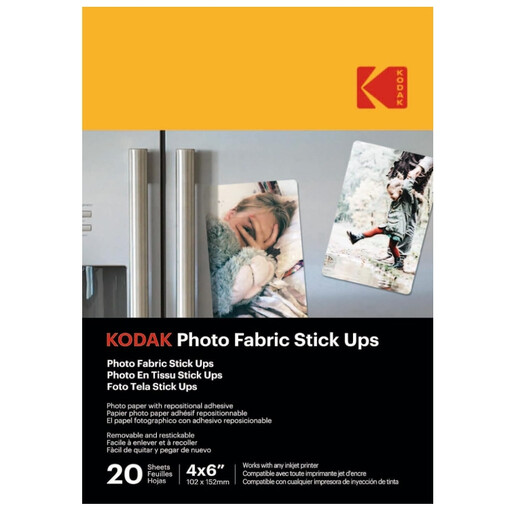
Why it stands out
This product stands out from the crowd with its unique texture and great versatility. Forget classic paper?: this is a canvas-like textured surface on a silky fabric base. Its standout feature? A repositionable adhesive that leaves no residue, perfect for changing your decor whenever you feel like it.
Advantages
Who is it for?? Ideal for those who love to regularly change their photo wall decor, for renters who want to protect their walls, or for scrapbooking projects that demand flexibility.
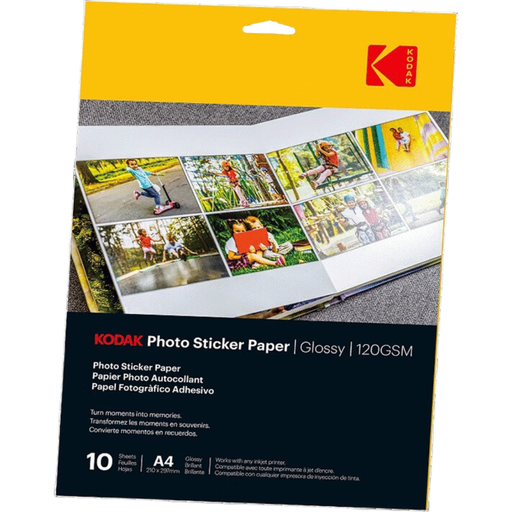
Why it stands out
With its large format, this option unleashes your creativity. The A4 sticker paper allows you to print compositions, custom sticker sheets, or large-scale visuals. Its glossy finish ensures vibrant colors and a professional look.
Advantages
Who is it for?? Perfect for DIY (Do It Yourself) enthusiasts who create their own sticker sheets, for personalizing a laptop or notebook, or for making custom decorations.
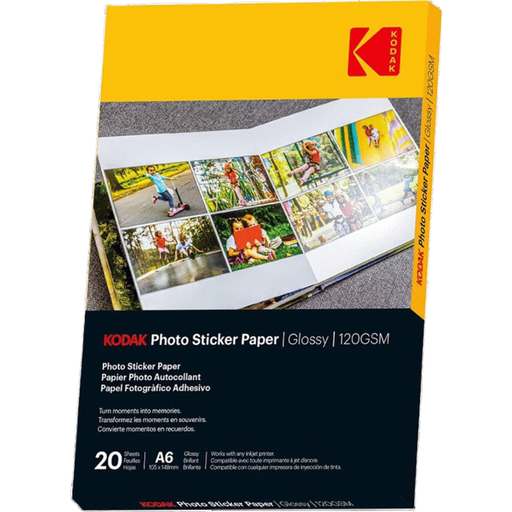
Why it stands out
The ultimate simple and effective solution for printing standard-sized adhesive photos. This 10x15 adhesive photo paper combines the quality of a glossy print with the convenience of a sticker. The 20-sheet pack makes it a cost-effective choice for projects requiring a large number of photos.
Advantages
Who is it for?? A versatile, all-rounder option, perfect for creating photo albums, decorating a journal, displaying memories on the fridge or a board, or for giving personalized snapshots as gifts.
Our selection covers the most common uses, but the world of creative paper is vast. If you want to explore other sizes, finishes, or quantities, feel free to browse our complete category. You're sure to find the ideal medium for every project.
Discover our full range of creative papers
A glossy finish offers a very bright look with saturated colors and sharp contrasts, similar to a traditional photo print. Its downside is its susceptibility to glare and fingerprints. A matte finish, on the other hand, doesn't reflect light, giving it a softer, more artistic appearance. It's less prone to fingerprints and is perfect for images displayed under direct lighting.
For best results, apply it to smooth, clean, dry, and non-porous surfaces (paper, cardboard, glass, plastic, metal, etc.). Textured, damp, or dusty surfaces can compromise adhesion. On delicate surfaces like a freshly painted wall or wallpaper, using repositionable photo paper is highly recommended to avoid any unpleasant surprises upon removal.
Three things are key to a successful print. First, use a high-resolution source image. Second, in your computer's print settings, make sure to select the correct paper type (e.g., "Glossy Photo Paper"). Finally, load the sheet the right way, with the printable side correctly oriented as indicated in your device's manual. Let the ink dry for a few moments before handling your creation.