
Livraison le jour même ou le lendemain

Qualité garantie

Débloquez vos offres de bienvenue: Livraison GRATUITE | Jusqu'à -80 % | 30 jours d'essai gratuits à JoyPlus
Téléchargez l'application
Scrapbooking and card making are the art of transforming a simple sheet of paper into a unique memory. For this, scrapbooking cutting dies are powerful allies. These small metal stencils allow you to make perfect cuts and give a professional finish to any project. But when faced with an overwhelming number of options, how can you avoid making a mistake and ending up with a disappointing tool?
Who hasn't been frustrated by a die that only half-cuts the paper, a design that warps after three uses, or a die that's incompatible with their machine? These hassles are not only frustrating, but they also waste your time and money. This guide is here to arm you with the right criteria and help you avoid the most common pitfalls.
Before you fall for a pretty design, a quick technical check is in order. It's these often-overlooked details that will make all the difference between a flawless cut and a major disappointment.
This is the essential starting point: the compatibility of the metal cutting die with your machine (Sizzix Big Shot, Cricut, Happycut, etc.). Most thin dies, also known as "wafer-thin" dies, are designed to be universal. In practice, their effectiveness largely depends on the thickness of the famous "sandwich" (cutting plates, paper, die) that you assemble.
The quality of the metal is crucial for the lifespan and performance of your die. A low-grade alloy is likely to rust, bend, or lose its sharp edge far too quickly.
Not all dies are created equal when it comes to complex patterns. A design with many fine details (lace, flourishes) requires more pressure and a very precise cutting blade for a flawless result.
To help you visualise these criteria, here are a few options suited to different types of paper craft enthusiasts.
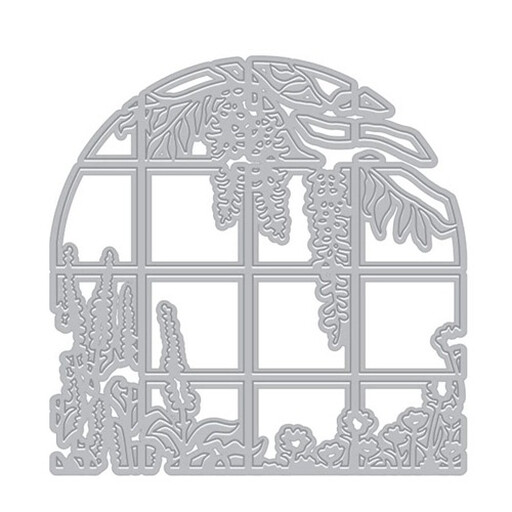
WHY IT'S A GREAT MATCH: This is the perfect foundation for anyone looking for a structural element for their creations. This type of frame is ideal for highlighting a photo, a message, or a decoration. Its classic and timeless shape suits a multitude of themes, from announcements to album pages.
With its clean design and sharp lines, it minimises the risk of incomplete cuts, a common pitfall with overly busy designs. It guarantees a clean result every time.
Versatility: It can be used as a frame, a window, or a background element. Easy to use: Perfect for beginners and experts alike.

WHY IT'S A GREAT MATCH: Perfect for crafters who love to add an elegant and sophisticated finish to their greeting cards, invitations, or scrapbook pages. The lace pattern provides an instant touch of refinement.
Made from sturdy metal, this die is designed to withstand the pressure needed to cut fine patterns without warping. It avoids the problem of flimsy dies that bend and lose their precision.
Elegant design: Creates a high-quality decorative border. Precise cutting: Achieves fine details for a professional-looking result.
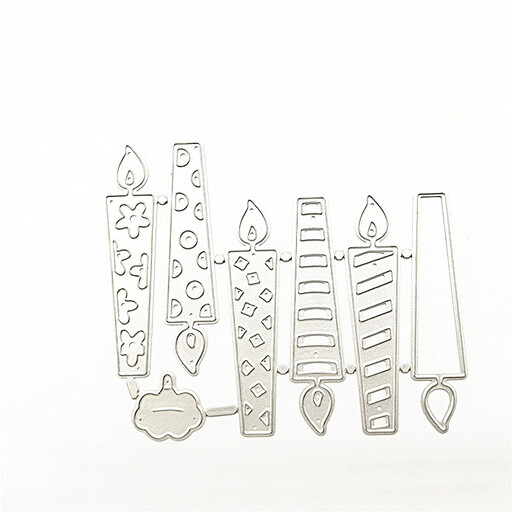
WHY IT'S A GREAT MATCH: This set is a must-have for anyone who regularly makes birthday cards. It offers themed elements (candles, "Happy Birthday" text) that can be combined to create endless personalised and festive designs.
By offering several small, separate elements, this kit avoids the trap of large, complex dies that can cut poorly. Each piece is easy to position and cut individually for total control.
Complete set: Contains shapes and text for an all-in-one birthday card. Modularity: The elements can be used together or separately on other projects.
We have selected a full range of products for you that meet our strictest quality and safety criteria.
Absolutely. Most thin dies are also perfect for embossing. You just need to adjust your "sandwich": replace the bottom cutting plate with a silicone embossing mat. The die will then press the paper into the soft mat to create a raised impression, without cutting it.
Proper maintenance is the key to longevity. After each session, be sure to remove any small paper scraps with a brush or a fine-tipped tool. To prevent rust, store them in a dry place. Magnetic storage sheets are ideal for keeping them organised, flat, and protected from moisture.
Don't panic, this is a common problem. First, try running it through the machine a second time, changing the orientation of the die. If the problem persists, add a sheet of cardstock (a "shim") to your sandwich to slightly increase the pressure. Also, check the condition of your cutting plates: if they are too worn or warped, the pressure will no longer be even and the cut quality will suffer.