
Livraison le jour même ou le lendemain

Qualité garantie

Débloquez vos offres de bienvenue: Livraison GRATUITE | Jusqu'à -80 % | 30 jours d'essai gratuits à JoyPlus
Téléchargez l'application
Gel nail stickers have plenty going for them: quick application, a glossy finish and no liquid polish to dry. But not all products are created equal. The wrong size, disappointing adhesion or overly forceful removal can quickly turn an express manicure into an unpleasant surprise.
Before choosing your gel nail stickers, here are the pitfalls to avoid, the criteria to check and a few options suited to different needs.
Claims such as ‘long-lasting’ or ‘water-resistant’ do not guarantee the same wear time for everyone. How long they last depends on how well the nail is prepared, its shape, how accurately the sticker is fitted, and exposure to washing, household products and heat.
A product description promising extended wear should therefore be read with a little caution. Instead, check the application instructions, whether a top coat can be applied and what precautions should be taken around water and heat.
A sticker that is too wide may touch the cuticles or skin, making it more likely to lift. If it is too narrow, part of the nail will remain visible. Nail patch sets offering several sizes generally provide a neater fit.
For short, curved or very thin nails, the flexibility of the material and the option to file away excess are often more important than a particularly sophisticated design.
A no-UV-lamp manicure is still an adhesive application. The nail must be clean, dry and free from any traces of cream or oil. Without this preparation, even long-lasting nail stickers can start to peel off quickly.
Another detail to check is whether the product can be cured under a lamp to improve durability, or whether it is designed exclusively for conventional application. Read the instructions carefully to choose a method that is compatible with your equipment.
Look for products that clearly specify a flexible gel polymer or flexible material. Where this information is available, check the type of adhesive too. A flexible sticker follows the curve of the nail more closely and helps prevent creases during application.
Claims such as ‘non-toxic’ or ‘gentle’ are still manufacturer presentation points, not a guarantee that the product will suit everyone. If you have sensitive skin, test the product on a small area before completing the manicure. At the first sign of redness, itching or irritation, remove it.
A set of 20 nail stickers for natural nails generally contains several sizes. That is enough to cover all ten nails, with a few spares in case an application goes wrong or you want to change your design.
Also check what is included in the box. Some designs require a file or scissors to remove excess, while others can be easily shaped with a file.
Removal should always be carried out gradually, starting from one edge, without pulling off the sticker or scraping the nail surface. Depending on the product, soaking in warm water, using a gentle remover or using a specific tool may be recommended.
Several product descriptions advise against wearing stickers for more than 14 consecutive days and recommend giving your nails a break after removal. This is particularly important if your nails are fragile or the surrounding skin is irritated.
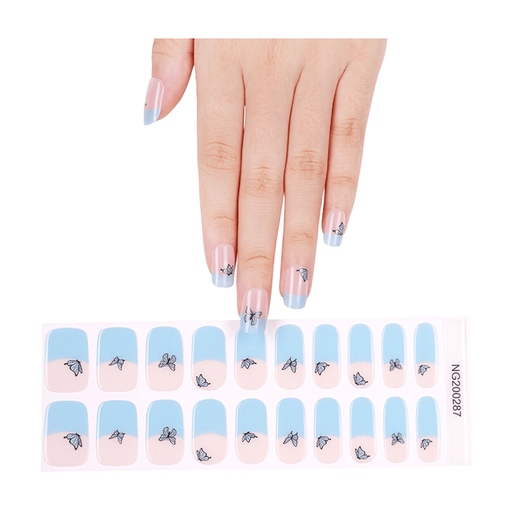
Why this choice suits this profile: The self-adhesive application requires neither extra glue nor a UV lamp. You therefore do not need any additional equipment to get started with nail art at home.
The instructions explain how to clean the nails, choose the right size and remove the stickers from the edges, without promising identical wear in every situation.
A set of 20 gel polymer stickers with integrated adhesive. These stickers are designed for natural nails and should be stored in a cool, dry place.
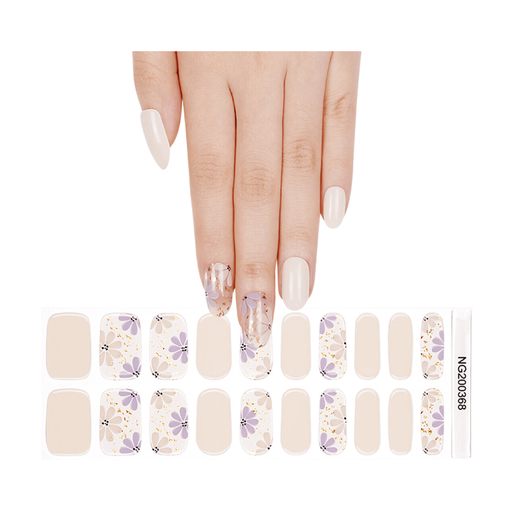
Why this choice suits this profile: Its white-tip design is ideal for anyone looking for a neat, understated finish, whether at the office, a ceremony or an evening out.
The 20 sizes make it possible to choose a width that is slightly narrower than the nail, helping to prevent the sticker from overlapping the skin.
A French manicure design, 20 pieces per set and an application with no drying time. After application, pressing down for 10 to 15 seconds is recommended.
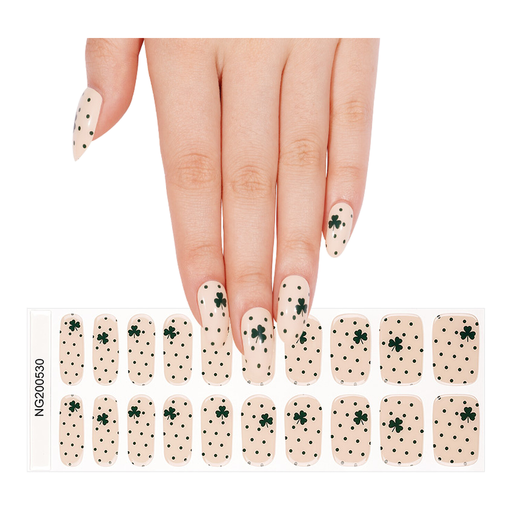
Why this choice suits this profile: If you regularly change your nail design, you have several sizes to choose from and can add a clear top coat depending on your usual routine.
The product description specifies the maximum wear time and precautions to take around heat, and advises against applying the stickers to damaged nails or skin.
20 assorted sizes, a gel texture, application without a UV lamp and gradual removal. According to the instructions, a top coat or lamp can be used as a finishing step, but this is optional.
This method works equally well for an express manicure or an at-home nail art session. You can combine several designs to create a more personal look.
We have selected a comprehensive, real-time updated list of products that meet these exacting criteria, as well as European safety requirements.
Yes. Several designs are made to be applied without a UV lamp and without any drying time. With some products, a lamp may nevertheless be offered as an optional finishing step. Always check the instructions for your chosen design.
It depends on how well the nails are prepared, the size selected and your daily activities. Frequent washing, prolonged immersion and heat can reduce adhesion. Follow the wear time stated on the packaging and never force the stickers off during removal.
The products featured are described as suitable for natural nails. However, they should not be applied to damaged or infected nails, or to irritated skin. If you are sensitive to adhesives, test the product on a small area and stop using it immediately if you experience any discomfort.