
Livraison le jour même ou le lendemain

Qualité garantie

Débloquez vos offres de bienvenue: Livraison GRATUITE | Jusqu'à -80 % | 30 jours d'essai gratuits à JoyPlus
Téléchargez l'application
An icy draught near the windows, a front door that lets the cold in, energy bills that climb for no reason… If this scenario sounds familiar, the culprit is often the same : poor sealing. A good door and window insulation seal can transform your comfort and slash your expenses. But when faced with a jungle of options, it's easy to make a mistake. As a Product Expert at Joybuy, my mission is to help you see things more clearly.
Before you rush out and grab the first adhesive roll you see, let's review the common mistakes that can turn your good intentions into a wasted purchase:
To insulate a door from the cold or a window without making a mistake, certain technical details make all the difference. Mastering them is your guarantee against throwing money out the window.
The choice of material depends on the application, expected durability, and your budget.
This is THE crucial parameter. Before any purchase, measure the space you need to fill. The foolproof trick ? Wedge a small piece of modelling clay in the gap, close the door or window, then open it again. The thickness of the compressed clay will give you the exact measurement to be sealed.
To help you move from theory to practice, here is our selection of products that meet specific needs while avoiding the common pitfalls.
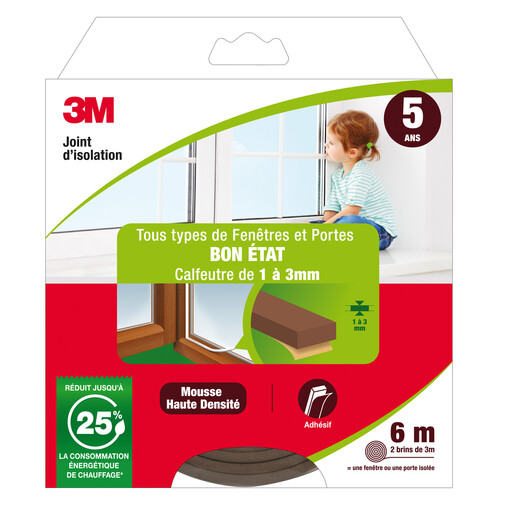
Why we recommend it : It's the quintessential simple and cost-effective solution for eliminating small draughts without undertaking major work. Ideal for renters or for a quick fix.
This foam seal is calibrated for gaps of 1 to 3 mm. By using it for this specific purpose, you can't fall into the trap of a wrongly sized seal.
Ultra-simple adhesive installation on wood, PVC, and aluminium. According to 3M, it can reduce heating costs by up to 25 %.
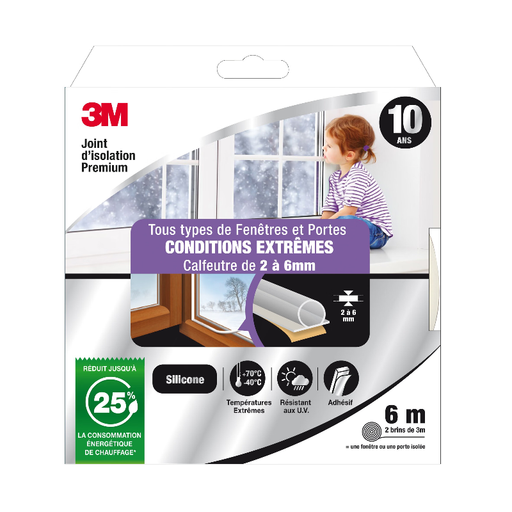
Why we recommend it : For anyone looking for a "set it and forget it" solution. The initial investment is slightly higher, but the peace of mind for the next decade is priceless.
The high-performance silicone won't compress or degrade like a standard foam seal. It resists UV rays and extreme temperatures (from -40 °C to +70 °C), thus avoiding the pitfall of a material that ages poorly.
Effective on wider gaps (from 2 to 6 mm), it promises a lifespan of at least 10 years under normal conditions of use.
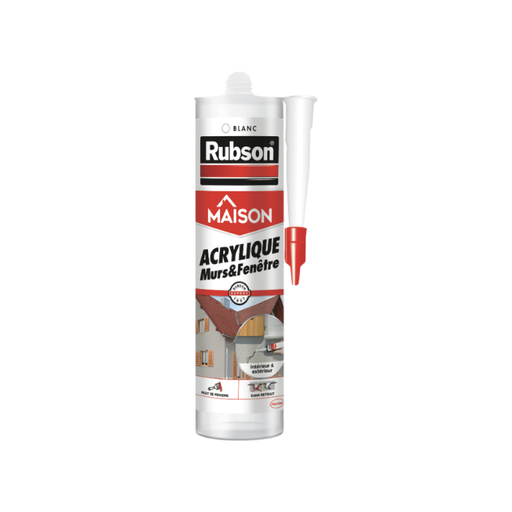
Why we recommend it : Essential for renovations to seal fixed joints, such as around a window frame or a crack in a wall. It's a finishing product that completes the weatherstripping job.
This product is an acrylic sealant (interior/exterior), not a flexible seal. It avoids the common mistake of using a seal for moving parts on a fixed crack, where it would be completely unsuitable.
Once dry, it can be painted to blend in with the decor (wall or frame). It adheres to most construction materials : wood, plaster, cement, PVC, etc.
Discover our full range of insulation products, selected for their effectiveness and compliance with standards.
The longevity of a seal primarily depends on its material. A standard foam seal can last from 1 to 5 years, depending on its exposure to friction and weather. A high-quality silicone or rubber seal can easily last more than 10 years, offering a much more durable solution.
Several signs are unmistakable. If you feel a draught when you run your hand near the frame, that's the most obvious symptom. Other clues include a noticeable increase in outside noise, the appearance of condensation between panes (for double glazing), or visible signs of wear on the seal itself (cracks, crumbling, or peeling sections).
No, it's an operation within anyone's reach, even for novice DIYers! The secret lies in the preparation :