
Livraison le jour même ou le lendemain

Qualité garantie

Débloquez vos offres de bienvenue: Livraison GRATUITE | Jusqu'à -80 % | 30 jours d'essai gratuits à JoyPlus
Téléchargez l'application
Perfect nails without a trip to the salon? It's the dream. A DIY manicure promises freedom and savings, but the journey can quickly turn into a nightmare. Between marketing's siren song and harsh reality, we too often end up with disappointing equipment and a result that's light-years away from our expectations.
To avoid turning this relaxing moment into a real chore, it's best to know the most common pitfalls before you pull out your credit card.
To avoid falling for the trap, all it takes is a little research.
A few key technical criteria are all you need to separate an effective product from a mere marketing gimmick.
For a nail drill, there are two indicators to watch closely:
Not all stickers are created equal. It all comes down to the material. Models made from real semi-cured gel guarantee better durability and a thicker finish, very close to the look of a semi-permanent manicure. The adhesive must be professional-grade to ensure it lasts for several days without damaging the nail during removal.
For a semi-permanent manicure kit, consistency is key. Make sure the lamp's power (in watts) is suitable for the polishes in the set. When it comes to nail care, pay close attention to the ingredients: opt for products enriched with botanical oils or natural extracts like aloe vera, which deeply nourish the nail and cuticles.
Rather than an endless list, we've selected products that cater to specific user profiles to guide you toward the best choice.
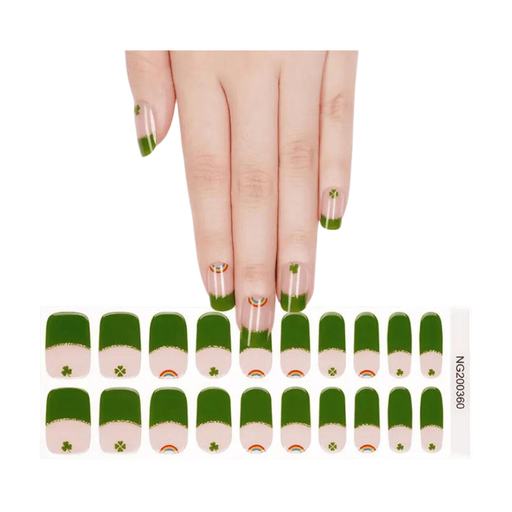
Why we chose it: For those who want a flawless result in minutes, without endless drying times or complicated gear. The perfect solution for a night out or for changing your look on a whim.
Unlike budget-friendly stickers, these gel nail stickers provide much stronger adhesion and a more durable finish. Say goodbye to manicures that chip after the first hand wash and the disappointment that comes with it.
Quick, mess-free application with zero drying time. Removal is just as simple and won't damage the natural nail if you follow the instructions.
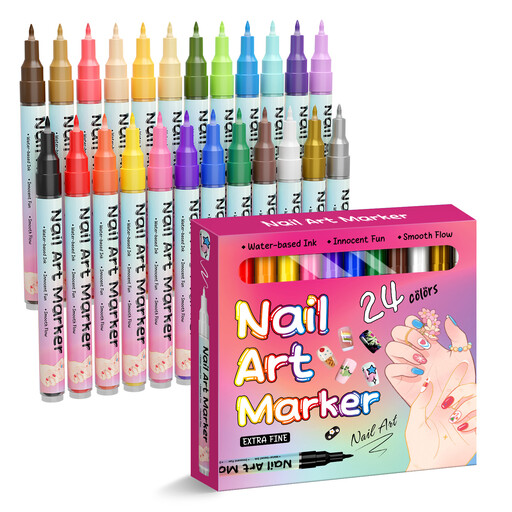
Why we chose it: For those who see their nails as a blank canvas and want to dive into precision nail art, from the finest lines to the most detailed floral patterns.
Say goodbye to smudged polish and imprecise brushes. The ultra-fine 0.5 mm tip on these pens offers total control for impeccably sharp lines, while the acrylic ink creates a beautiful textured 3D effect.
A quick-drying formula that's water-resistant once dry. The set of 24 colours opens up a world of possibilities for limitless creativity.
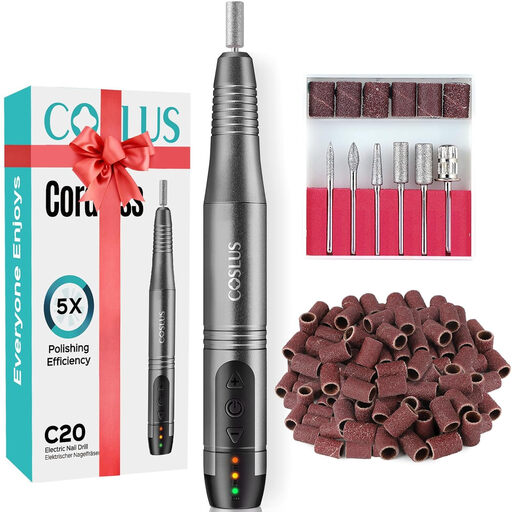
Why we chose it: For those who are already comfortable with removing gel, shaping acrylics, and are looking for a versatile, high-performance tool for both manicures and pedicures.
This nail drill doesn't fall into the trap of underpowered models. Its adjustable speed up to 20,000 RPM and multiple bits allow for customised work, from simple polishing to complete removal.
Cordless and rechargeable, it offers complete freedom of movement. Its quiet motor and low heat generation make it much more comfortable to use.
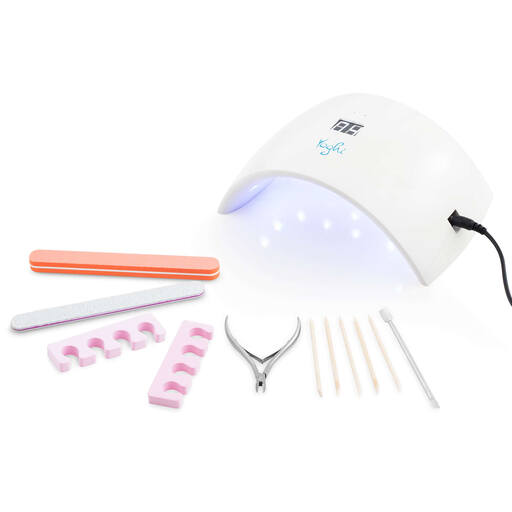
Why we chose it: The perfect kit for getting started with semi-permanent manicures, offering a cohesive and functional set of basic equipment without the headache of buying each item separately.
This manicure kit saves you the headache of incompatible components. It includes a 12W LED lamp designed for UV/LED gels and all the essential accessories for prep. No more guesswork.
A truly complete kit, with an automatic timer lamp and stainless steel accessories, which guarantee durability and hygiene.
We've put together a complete selection of products that meet our demanding selection criteria and current safety standards.
A DIY semi-permanent manicure generally lasts between one and three weeks. Its longevity depends on several factors: the quality of the nail preparation (degreasing and lightly buffing the surface are essential), the thinness of the polish layers, and, of course, the power of the lamp used to cure everything.
Using a nail drill requires a bit of a learning curve. To start safely, the advice is simple: always begin at the lowest speed with the least abrasive bits (like those for polishing). Never apply too much pressure and always keep the bit moving across the nail to avoid overheating and damage.
For a gentle removal, never pull the sticker off in one quick motion. The proper method: soak a wooden stick or a cotton swab in gentle remover or cuticle oil, slide it carefully under one edge of the sticker, and peel it off very slowly. Applying a good nail care product right after is an excellent habit to rehydrate them properly.