
Livraison le jour même ou le lendemain

Qualité garantie

Débloquez vos offres de bienvenue: Livraison GRATUITE | Jusqu'à -80 % | 30 jours d'essai gratuits à JoyPlus
Téléchargez l'application
More than just a gimmick, ambient lighting transforms a car's interior and creates an atmosphere that reflects your personality. An ambient car LED kit is the perfect solution for modernising your cabin, creating an immersive atmosphere, and enhancing the vehicle's overall aesthetic. But with an overwhelming number of options on the market, how do you navigate the choices and find the right one?
This guide is here to help you see things more clearly. We'll break down the essential criteria and present a selection of products to help you make an informed decision, without getting lost in technical jargon. From simple strips to the most comprehensive systems, follow us to find the kit that will elevate your car.
Before you fall for a particular model, a few technical details deserve your attention. These are what will make all the difference in the final look and user experience.
The first question is simple: what kind of lighting atmosphere are you looking for? The options vary drastically:
Modern kits do more than just light up; they offer highly advanced customisation possibilities.
Most kits are designed for Do It Yourself (DIY) installation. They run on 12V and connect to the vehicle's circuit, most often via the fuse box or a cigarette lighter socket. Make sure the kit includes installation accessories (like a plastic pry tool for inserting the strips into gaps) and that the strips are trimmable to perfectly fit your cabin's dimensions.
We have selected three kits that stand out for their features and design, catering to different budgets and customisation desires.
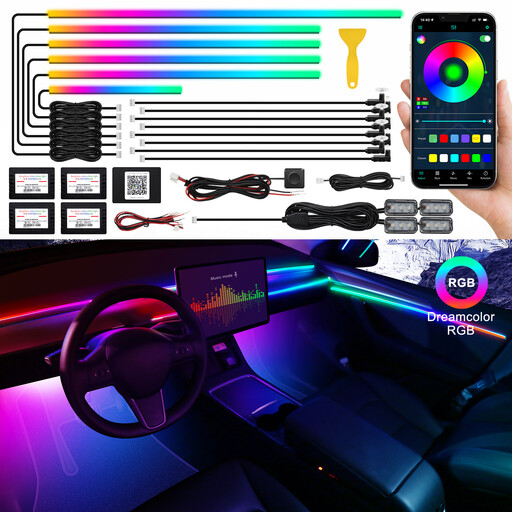
Highlights: This 18-in-1 kit is an all-in-one solution to radically transform your car's interior. It combines light strips for the dashboard and doors with dedicated modules for the footwells, handles, and storage compartments. The result is a perfectly uniform and immersive lighting atmosphere.
Pros:
Who is it for? For enthusiasts who want total, immersive ambient lighting that covers every corner of the cabin.
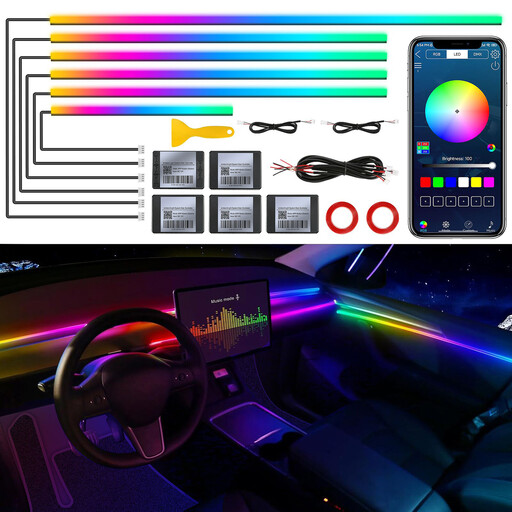
Highlights: This 6-in-1 kit focuses on the essentials for an already spectacular visual effect: the dashboard and the four doors. It's the perfect compromise, packing the same advanced technologies as more extensive kits but in an easier-to-implement package.
Pros:
Who is it for? For those who want a real aesthetic upgrade and a modern atmosphere without outfitting every nook and cranny of the car. An excellent first step into the world of lighting customisation.
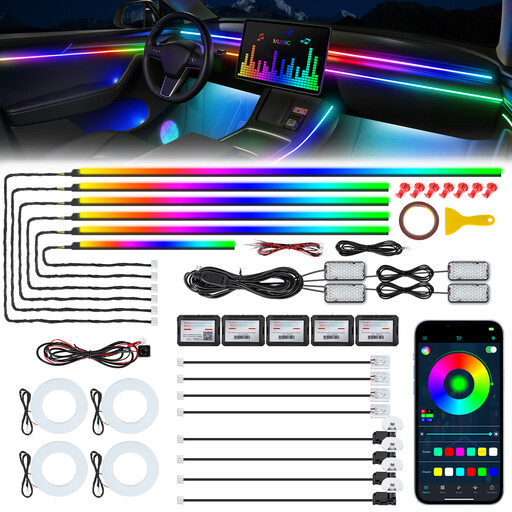
Highlights: This is the ultimate kit. This 22-in-1 version takes customisation to the extreme. It includes all the elements of the 18-in-1 kit and adds light modules for the speaker grilles. The result is a true visual spectacle, especially when synced with music.
Pros:
Who is it for? For customisation fanatics and perfectionists who refuse to compromise. The goal: to create a lighting atmosphere worthy of a concept car.
If these kits don't quite meet your needs, or if you're simply curious to discover other types of creative lighting, feel free to explore our full range.
For other creative lighting solutions, check out our collection of LED Bulbs & DJ Lights.
1. Can installing an LED kit damage my car? No, as long as the installation is done correctly. These kits are designed to run on 12V, a voltage compatible with all automotive electrical systems. They include short-circuit protection and generate almost no heat. Simply follow the instructions carefully and secure the connections.
2. What's the difference between RGB and RGBIC (Dreamcolor)? To put it simply: a standard RGB strip displays one colour at a time across its entire length. The whole strip changes from red to blue uniformly. RGBIC (Independent Chip) technology is more sophisticated: it integrates independent control chips along the strip. These allow it to display multiple colours simultaneously and create complex dynamic effects (waves, chasing, rainbows...).
3. Can the LED strips be cut to the right length? Yes, most acrylic or fibre optic strips are trimmable to perfectly fit the dimensions of your dashboard or doors. However, caution is advised: a resistor is often placed at the end of each strip. It's crucial to cut with a small margin to avoid damaging it, otherwise you risk desynchronising the colours or having a section of the strip go out.